



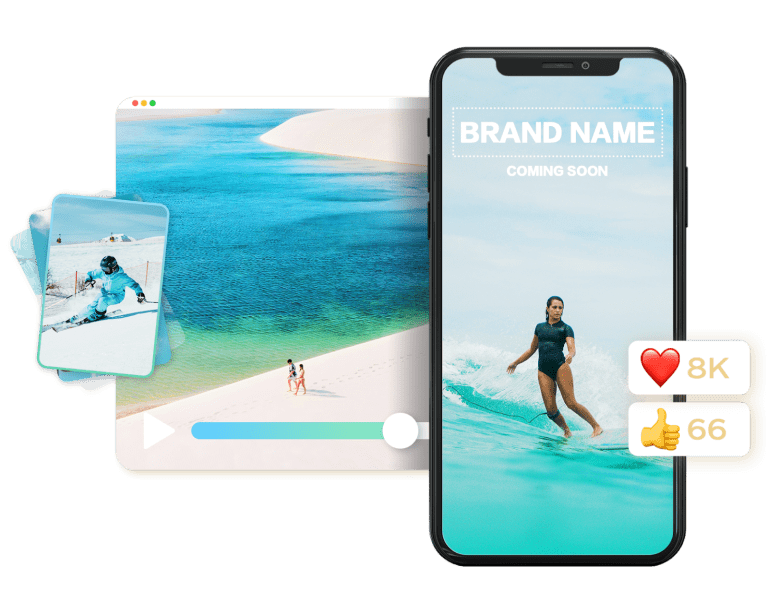
In the world of virtual events, captivating visual content plays a crucial role in engaging your audience. Slideshow videos are an excellent way to showcase important information, highlight key points, and entertain viewers. CapCut is a powerful free web video editing tool that allows you to create professional-looking slideshows quickly and easily. In this step-by-step guide, we will walk you through the process of creating stunning slideshow videos using CapCut for your next virtual event.
Step 1: Sign Up for CapCut
Go to your browser and search for CapCut. Tap Sign in and add your personal details, which you will use when logging into your account.
Step 2: Importing Images
Tap on the «+» icon in the main interface of CapCut to create a new project. Select «Photo Slideshow» from the available options. Next, tap on the «Add» button and choose the images you want to include in your slideshow. You can import multiple images at once from your device’s gallery.
Step 3: Arranging and Editing Images
Once your images are imported, you can rearrange their order by tapping and dragging them within the timeline at the bottom of the screen. To edit individual images, tap on an image and select the «Edit» option. CapCut provides various editing tools to enhance your images, such as filters, adjustments, cropping, and text overlays. Explore various effects to attain your desired visual style.
Step 4: Adding Transitions
Transitions help create smooth and seamless transitions between images in your slideshow. To add a transition effect, tap the «Transition» button at the bottom of the screen. Choose from the available transition options and apply them to the desired image pairs. Adjust the duration of the transitions to control the timing.
Step 5: Applying Background Music
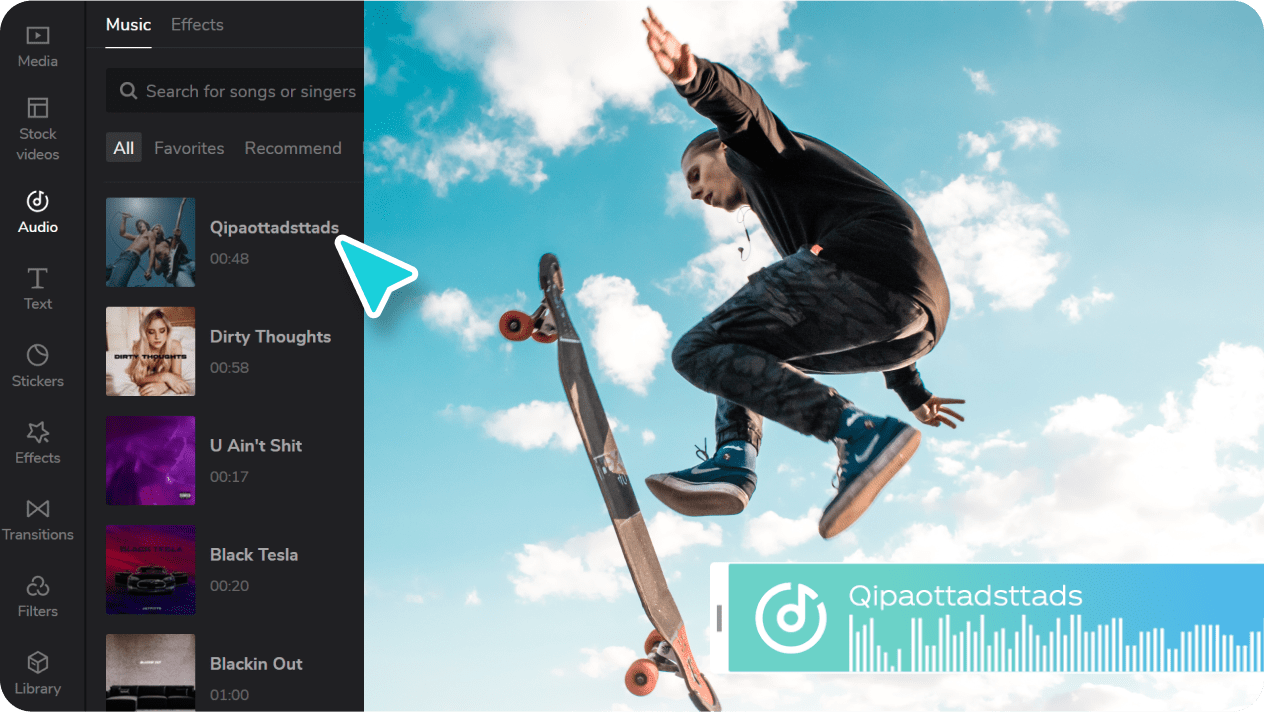 Background music adds depth and emotion to your slideshow video. To add music, tap on the «Music» button at the bottom of the screen. CapCut offers a wide range of built-in music tracks, or you can import your own from your device’s music library. Choose a suitable track, adjust its volume, and ensure it complements the theme of your virtual event.
Step 6: Adding Text and Titles
To provide context, captions, or titles to your slideshow, tap on the «Text» button. CapCut offers various text styles, fonts, and animations. Select the appropriate text style, enter your desired text, and adjust its position, size, and color. You can add multiple text layers and animate them for an engaging effect.
Step 7: Applying Visual Effects and Filters
CapCut provides various visual effects and filters to enhance your slideshow. Access the range of available options by tapping on the «Effects» button. Experiment with different effects, such as color grading, overlays, and animations, to achieve the desired visual style. Adjust the intensity of the effects as needed.
Step 8: Fine-tuning the Timing
Timing is crucial to create a smooth and well-paced slideshow. Tap on an image in the timeline and adjust its duration by dragging the edges left or right. Ensure that each image is displayed long enough for viewers to absorb the content without feeling rushed. You can also use the «Auto Fit» option to automatically adjust the timing based on the length of your background music.
Step 9: Adding Motion Effects
CapCut offers motion effects such as pan and zooms to add dynamic movement to your slideshow. Tap on an image in the timeline and select the «Motion» option. Choose a motion effect style and adjust the start and end positions to create a visually appealing motion for the image. Experiment with different motion effects to add an extra layer of visual interest.
Step 10: Including Video Clips
If you want to incorporate video clips into your slideshow, CapCut allows you to do so seamlessly. Tap on the «+» icon, select «Video Slideshow,» and import your desired video clips from your device’s gallery. You can arrange and edit the video clips similar to the process for images, applying transitions, adding text, and adjusting timing as needed.
Step 11: Previewing and Fine-tuning
Before finalizing your slideshow, previewing the entire video is important to ensure all elements work harmoniously. Watch the video from start to finish, focusing on the timing, transitions, effects, and any added text or motion. If you notice any issues or areas for improvement, go back to the respective steps and make the necessary adjustments until you are satisfied with the overall flow and visual appeal.
It’s essential that before you export your video, you ensure you have a relatable background. Some video backgrounds might not blend well with its background, and removing the background will be the best solution thanks to the video background remover feature available in CapCut.
Step 12: Exporting and Sharing
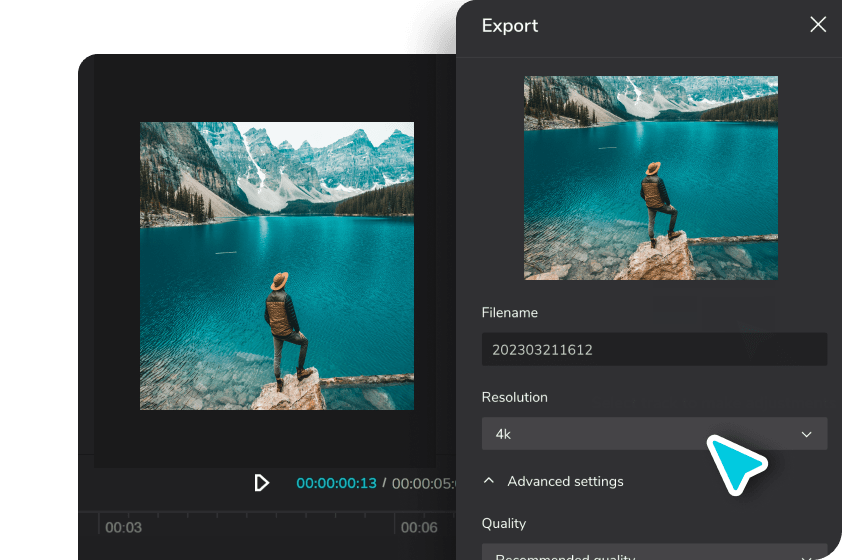 Once you are happy with your slideshow video, it’s time to export and share it for your virtual event. Tap on the «Export» button and select the desired video quality and format. CapCut will process the video, and once the export is complete, you can save it to your device’s gallery. You can now upload the video to your virtual event platform, share it on social media, or embed it on your website to engage and captivate your audience.
Conclusion
Following these additional steps can further enhance your slideshow videos created using CapCut. Fine-tune the timing, add motion effects, including video clips, and preview the final result before exporting and sharing. With these steps, you’ll create professional and visually appealing slideshow videos to impress your audience at your next virtual event.